A seamstress journey to revamping and building her wardrobe and costume chest.

Wednesday, April 23, 2014

18th century shoes and more

I finished my Robe a l'anglaise/polonaise last week. A joyous day indeed was the day I completed the longest project I ever took on. I could have done flips but I was so tired I went to bed and took a nap. I'm ready to take pictures of the dress but I have to work on the my hair and of course my shoes.

When I frist decided to start this project I ordered shoes from American Duchess. I ordered  the 18th century based Kensington leather shoes in ivory. I wrote a little post about them when I ordered them HERE. I got them the first week in April after my last layaway payment. Company plus for me was the layaway plan, it's a lot easier on the wallet when you are on  budget.
Anyway my shoes came and I opened them up and they were so beautiful. I already love getting new shoes but I was so happy to finally hold them. I guess the wait and knowing they were coming increased my need for them.


What's inside the shoe box. The shoes, Dauphine shoe buckle, replacement heel caps, and a free sucker(yum!) and pin.

Dauphine shoe buckle

I have to attach the buckle to the shoe. At first this seems like a daunting task but after reading and watching the instructions video on the buckle sale page I was able to get them on the shoes. pictures will come later with the dress.

I was still working on the dress when the shoes came so they stayed in the box until I finished the dress. I had the dress and I had the shoes, I now needed stockings.
I searched for stockings everywhere, I even gave making my own a go. It didn't work out. So I just went on and ordered a pair of 18th century stockings from American Duchess. I ordered the a pair of white Clocked Silk Stockings. They arrived yesterday. I was a little hestaited to order them because I have big legs and even after measuring I barely made the size cut off.

Stocking package plus another free sucker( they are good) and pin.


I tried the stocking on and they can make it over my knee to my thigh. The only problem is they didn't stay there so I just pulled them up to my knee and folded the cuff. The stocking cover my knee and that fine, I'm short and I don't have much leg to cover.

Everything is coming together. Now to work on the hair.

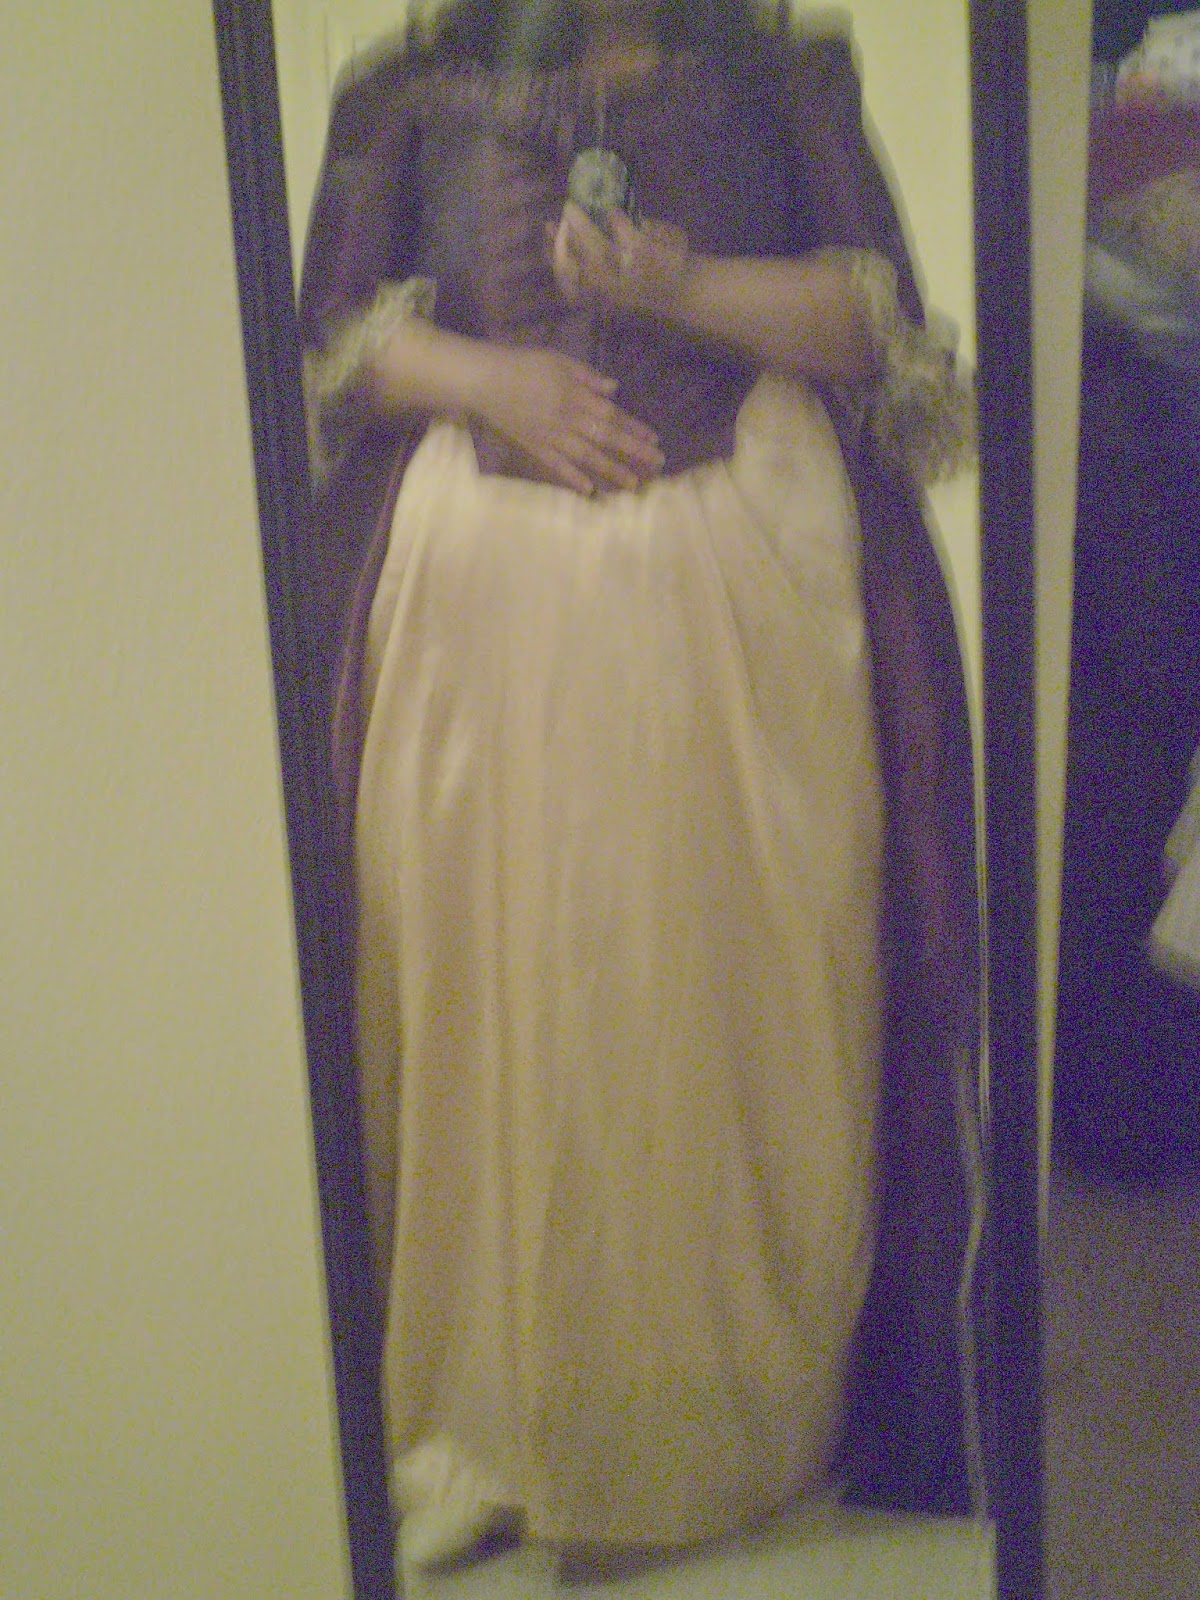
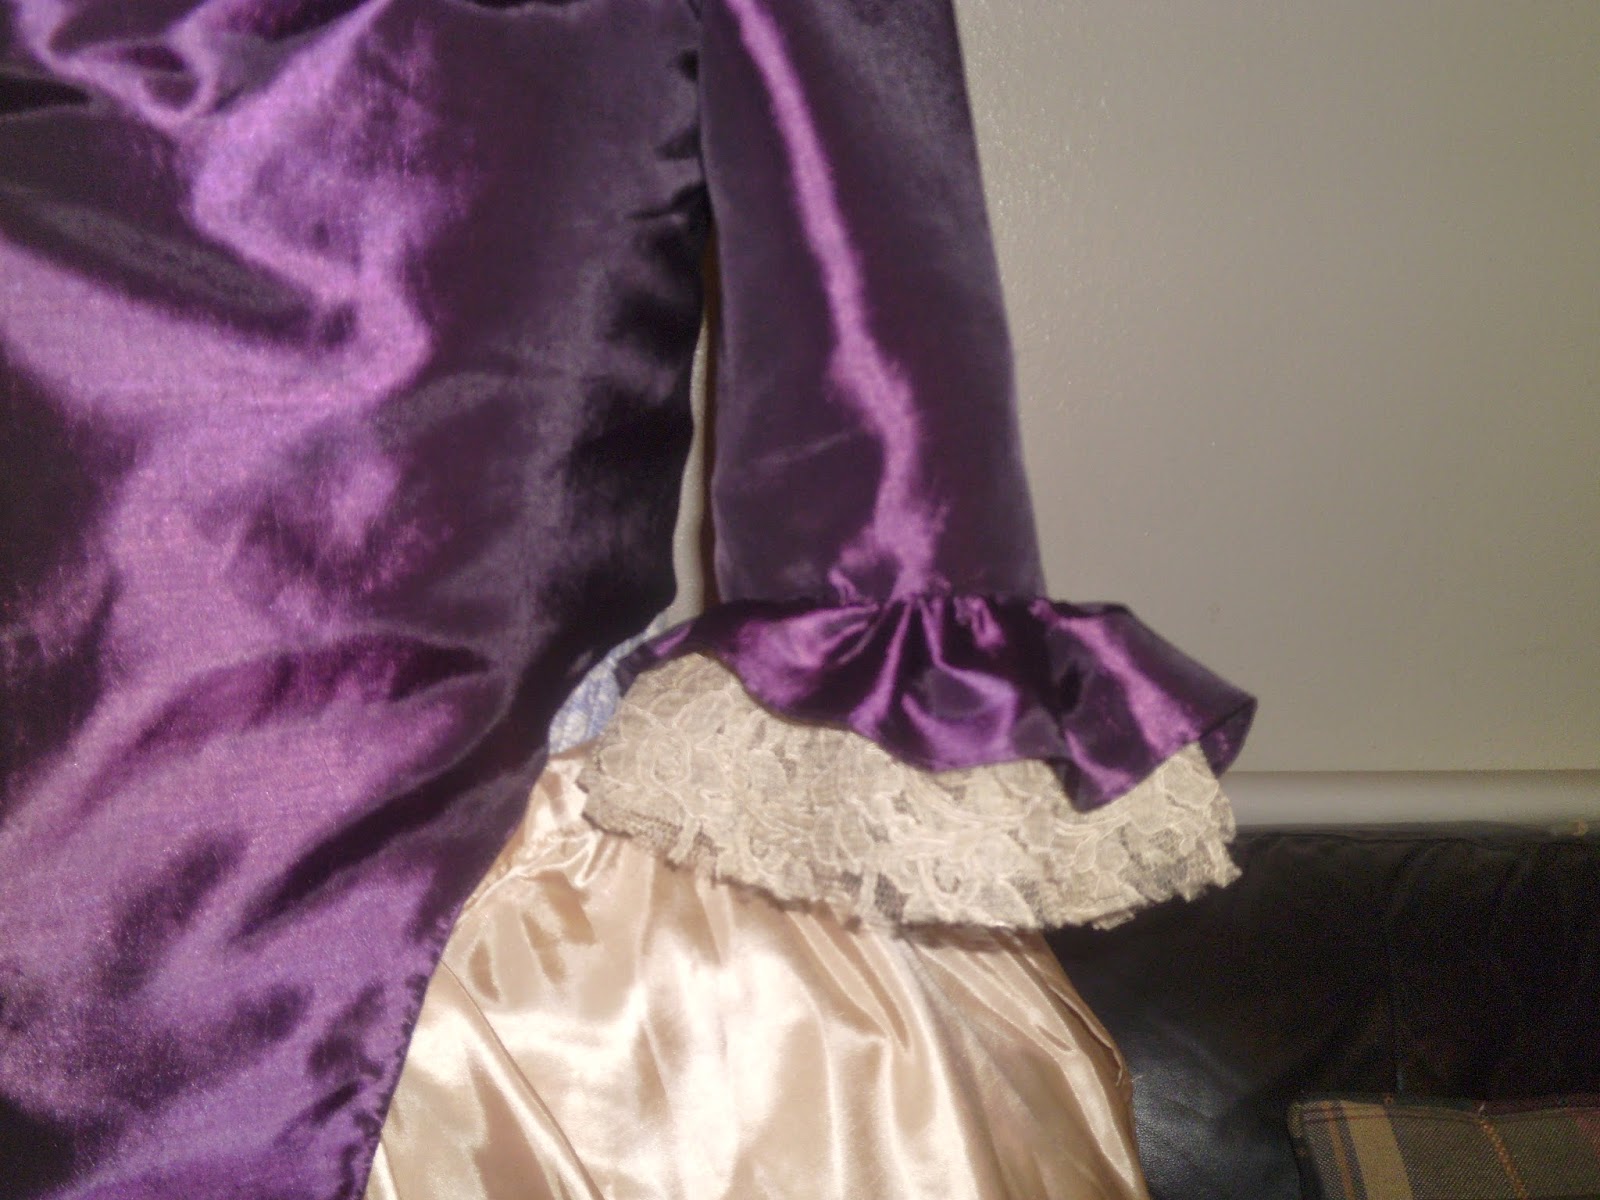
ALSO HERE'S A SNEAK PEEK OF THE DRESS


Read More

Tuesday, April 22, 2014

Sunday Roses

Sunday was Easter and that means pretty dresses and hats.

I knew I had to make something pretty to wear. I needed something bright and fun. It had to say SPRING IS HERE. I want it to have a retro feel and be comfortable cause I was going to be doing some cooking. I was very Stepford Spring picnic.


It's been a long time since I had a new Easter dress. I think the last time I had a new dress for Easter I was about 10 years old. That a long time for a girl not to have a pretty dress for Easter. So this year I decide that this year I would make a new dress for Easter. I used my go to  circle skirt pattern and  I used the top of a dress pattern I had. I made a few adjustment to the bodice before I started  sewing.

first I made the skirt
Second Day: was bodice work. my facing flipped out. I also made a test button, my first button.
Button making on the third day
After tacking down all my facing my dress was ready to wear. Slipped on a petticoat, I wore my royal blue one. I love the way the blue looks with the yellow. 


Thanks to my cousin Anissa of TE STUDIOS for the pictures. We tried out her big fancy camera instead of my little camera with a mini makeshift photo shoot.

Read More

Tuesday, April 15, 2014

Dress Update!

I'm almost done except for a few little adjustments that need to be made before I add the trim. For a few days I didn't work on the dress for a couple of reasons. I worked on and finished my Easter dress and I was having some sinus problems. Hand sewing with a sinus headache was never going to happen. I have finished everything except the trim, which will be simple.
It's taken longer to finish this dress then expected.
Read More

Monday, March 31, 2014

The Never Ending Dress!

Dress update.

It's slowly becoming something.

For last few days I have been inserting sleeves and hand sewing the bodice & lining together. I was able to get both sleeve flounces made and attached. This all sound easy and simple but believe me when I say, "I will never underestimate a task!" The sleeves were confusing at first. Reading the instructions over and over just to make sure I was reading it carefully. Once I got a clear understanding of what I was suppose to do I was able to insert both sleeves with ease. The sleeve flounce was another two days just fighting with it. For some reason I couldn't fit the flounce and position it in the right place. After pinning and pinning, I finally got them into place.


Well anyway they are done and I'm happy with them. Everything on the the bodice is done except for the closure. I haven't got my hooks and eyes yet so I'm waiting on them.


I also finally hemmed my champagne petticoat. I kept forgetting to get thread after I ran out earlier this month. I need to wash my petticoat cause my little cousin spilled red fruit punch on the floor and some splashed on the hem of my petticoat. It's not stained but it needs to get cleaned.

Going to start on the skirt tomorrow!

Read More

Wednesday, March 19, 2014

Dress Progress

Yesterday when I woke up I got to work. I was in the mood to get stuff done, also I had got the news we were going to have company over this weekend. My supplies and fabrics are all over the living room. I needed to get a move on.

After working on the bodice fitting and finally getting it right I decided to cut out my fashion fabric pieces.

Eggplant taffeta  fabric

putting the pattern pieces in place.


I get all the pieces out using pinking shears just to be safe cause taffeta frays and it frays quick. Not much to say about the cutting all the pattern pieces are easy even the skirt guide. The instructions that came with the pattern were easy to follow on how to extend the skirt. NO troubles.
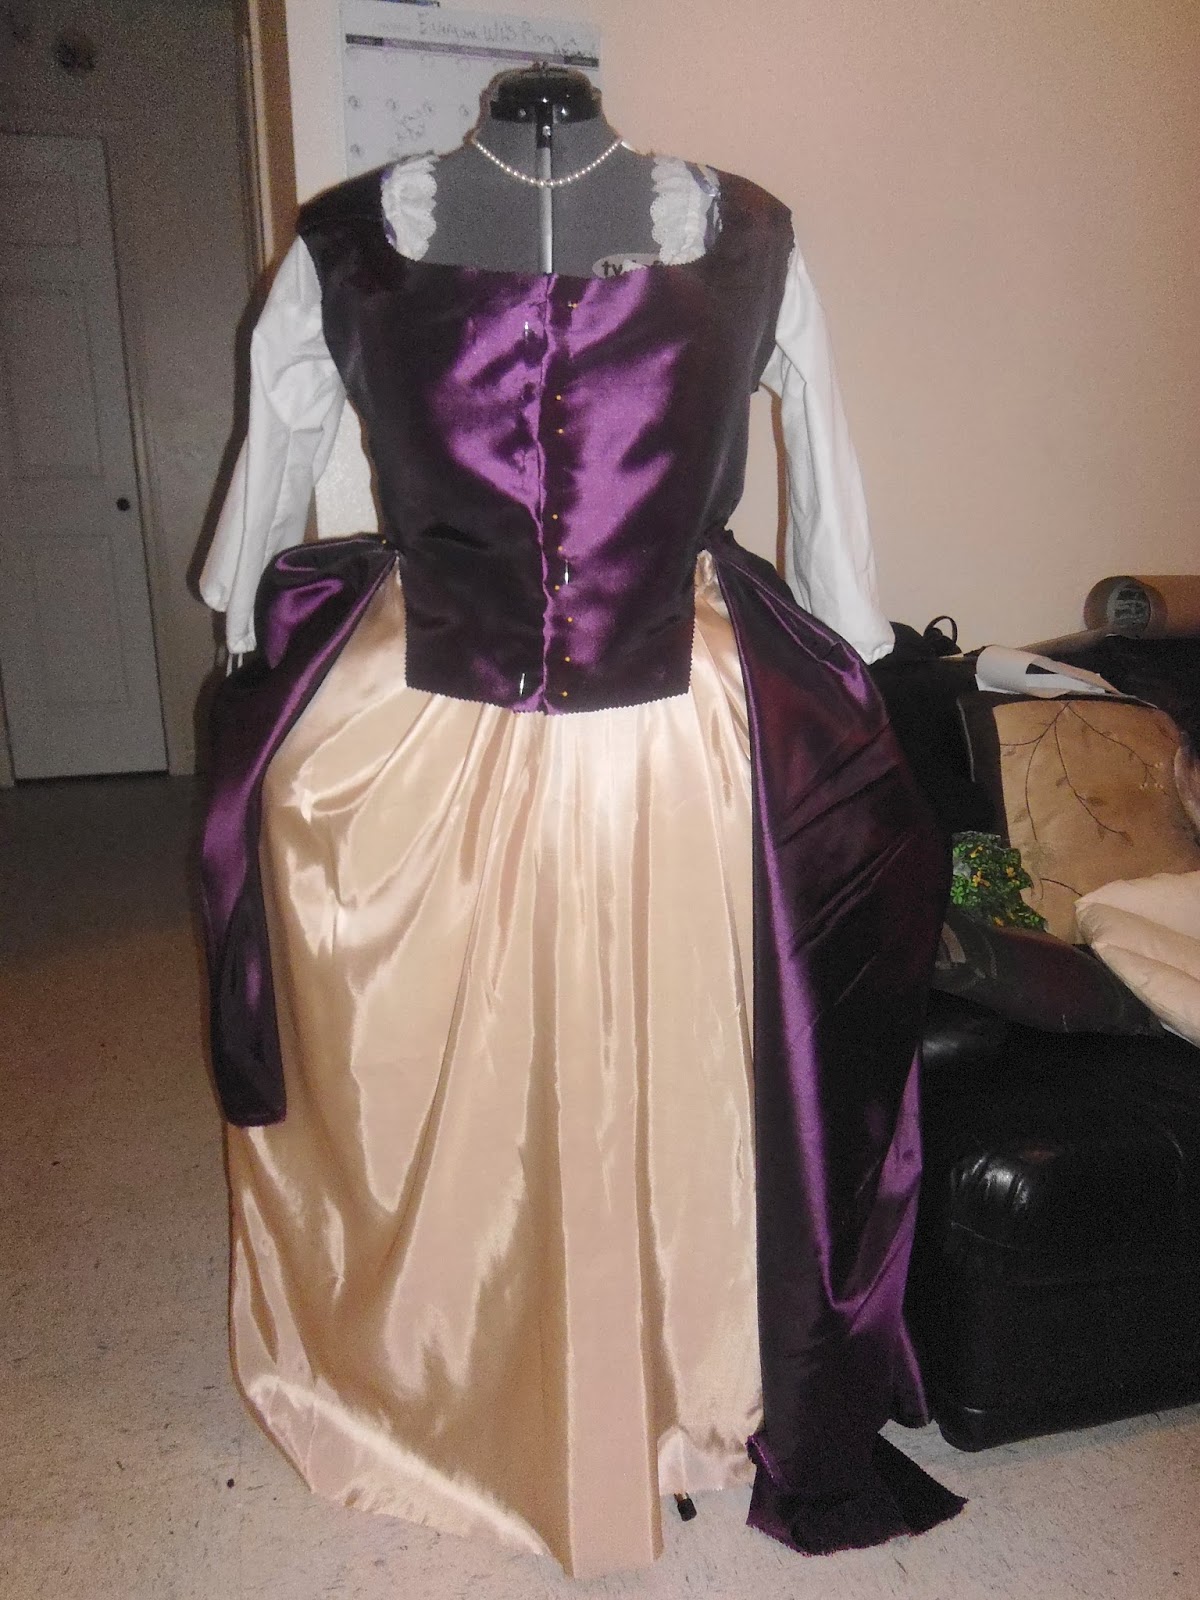
I would have started sewing but I ran into a few road blocks. When I was cutting out the bodice lining I came up about 1/2 a yard short. I used some of it on my birthday dress lining and for got to get more, so I ordered more. Next roadblock, the purple thread I had is a about three shades light then the fabric so I had ordered more thread with my lining. Third roadblock, remember I said I had company coming over and couldn't keep my stuff laying around cause there was going to be little children and I don't want anyone to get stuck with pins. I worked around that I couldn't take everything in my room so I decided to put everything on Lillian. Everything; the Chemise, the stays, the pocket hoops, all three petticoats. Then I pinned the eggplant bodice on and then pinned the eggplant skirt to the bodice.


It's a bit of a sloppy pinning it was only temporary until I got my extra supplies. Plus I left off the sleeves and pinned the outer skirt up so no one could step on it, Kind of looks like a nice pirate wench outfit. 

After I did all this yesterday, I get a call telling me that my family wasn't coming cause the event they were going to was cancelled. It's okay I got work done.

IN other news I made one of my accessories one night watching tv. While watching tv I went on and made my pearl necklace.

necklace supplies

finished necklace

Also tried on one of my hair options, it's not styled. this is my pre-coiffed look( it's going to be close to a hedgehog style). I ordered this wig weeks ago but since ordering it I have changed my mind along with finally deciding on a dress style. I still like the wig and look I just can't make up my mind. maybe when I get another wig and style it. And look at both wigs with the finished dress.

When I put it on the first thing that came to mind was Alex Kingston as Moll Flanders in The Fortunes and Misfortunes of Moll Flanders.

see look
Alex Kingston as Moll Flanders

Alex Kingston as Moll Flanders


Read More

Sunday, March 16, 2014

Needing a little bit of a push

Well I'm at that point were I just don't have the drive. After two months of non stop work on this project I'm all pooped out. I find myself exhausted after only one hour. For the last two weeks I haven't done much work.
I'm ready to start the dress work but I can't muster up the drive. I have the muslin bodice cut out and I have done two fittings. Neither of those were right so I'm still working on that. I wanted to move on to my fashion fabric this weekend but I'm no where near touching it. I feel that my problem is part exhaustion and part nerves. I quiet nervous about starting the dress, I want it to be as close to perfection as I can get it. I'm pretty much putting a load of pressure on myself and I don't know how to ease up. The last time I was like this was my last trimester in school I was  nervous wreck about my classes, grades and my mini collection. I always felt I wasn't doing my best. My body isn't reacting well to the stress at all, my face is breaking out, and I ache all over as if I have ran a marathon.
I'm still excited about the dress and I love working on it. I just don't have energy and drive to get up and do it. I have to force myself to work at least one hour a day so I won't get so behind in my schedule. I will get my fire back. I just need a little bit of a push, an internal pep talk and a few days of relaxation.
Read More

Friday, March 7, 2014

Petticoats, Petticoats, Petticoats

For the last two weeks I have been working on the next step in my 18th Century project ( I'm still working on a better name), THE PETTICOATS! I knew I wanted to make at least three. I knew I was going to make petticoats to go over my pocket hoops. My dress pattern comes with instructions on how to make petticoats so I read up on them before I got started. Well after reading the instructions three time I was still a bit confused on the first few steps a bit. I think it might have been the wording that was throwing me off. I wasn't taking any chances so I searched online for a bit of help, looking for other costumers' tutorials for clearer steps. After reading both the pattern instructions and tutorials, I figured out a way to make my petticoats. The first petticoat is a bit rough since it was done in a midst of confusion but I  figured out a better way for me to do the petticoats the other two came out better.  I wrote down my instructions and put them away for safe keeping.

The Champagne Taffeta Petticoat


The last petticoat I made was the outer champagne taffeta petticoat. It's the petticoat that will be worn on top of the others with the robe a la polonaise. This petticoat was by far the easiest and I made this one faster then the others. I was in the swing of things by the time I made this one. I still have to hem but I ran out of thread and haven't made it to the store yet.

The Candy Color Stripe Petticoat


The second petticoat I made after the trouble I had on the muslin petticoat. After working out and finding a way to make the petticoats that worked for I got started on the candy stripe petticoat. This petticoat was a lot easier than the muslin. I'm thinking about doing a ruffle hem on this one cause it's such a fun  looking fabric so it needs a bit of some thing else.

The Muslin Petticoat


The first petticoat I made. I used muslin cause it's cheap and since it's my first go I didn't want to cut into my fabric. I made this petticoat with the instructions from the dress pattern.  On top of the bit of math I had to do( I hate math) I could figure out exactly how they were telling my to lay out my fabric. By some miracle I got something out of the mess. It looks a bit short on the dress form but on me it's a walking length. It's not perfect not on bit but it works as a 1st under petticoat.

They aren't prefect but they could have been worst.
Next step: dress muslin and fitting

P.S. everything look a bit frumpy on the dress form cause I was taking everything off so I can start another project. I had most of everything off when I remembered I needed to take pictures of the petticoats. So I rushed and threw everything back on Lillian for pictures.
Read More
Powered by Blogger.

Followers

Pages

© Sweet Tea Kisses, AllRightsReserved.

Designed by ScreenWritersArena